Add a tenant
Save a tenant's details, with or without inviting them to the portal.
Add a new tenant first, then create their lease. You don't need to invite them to the portal for either.
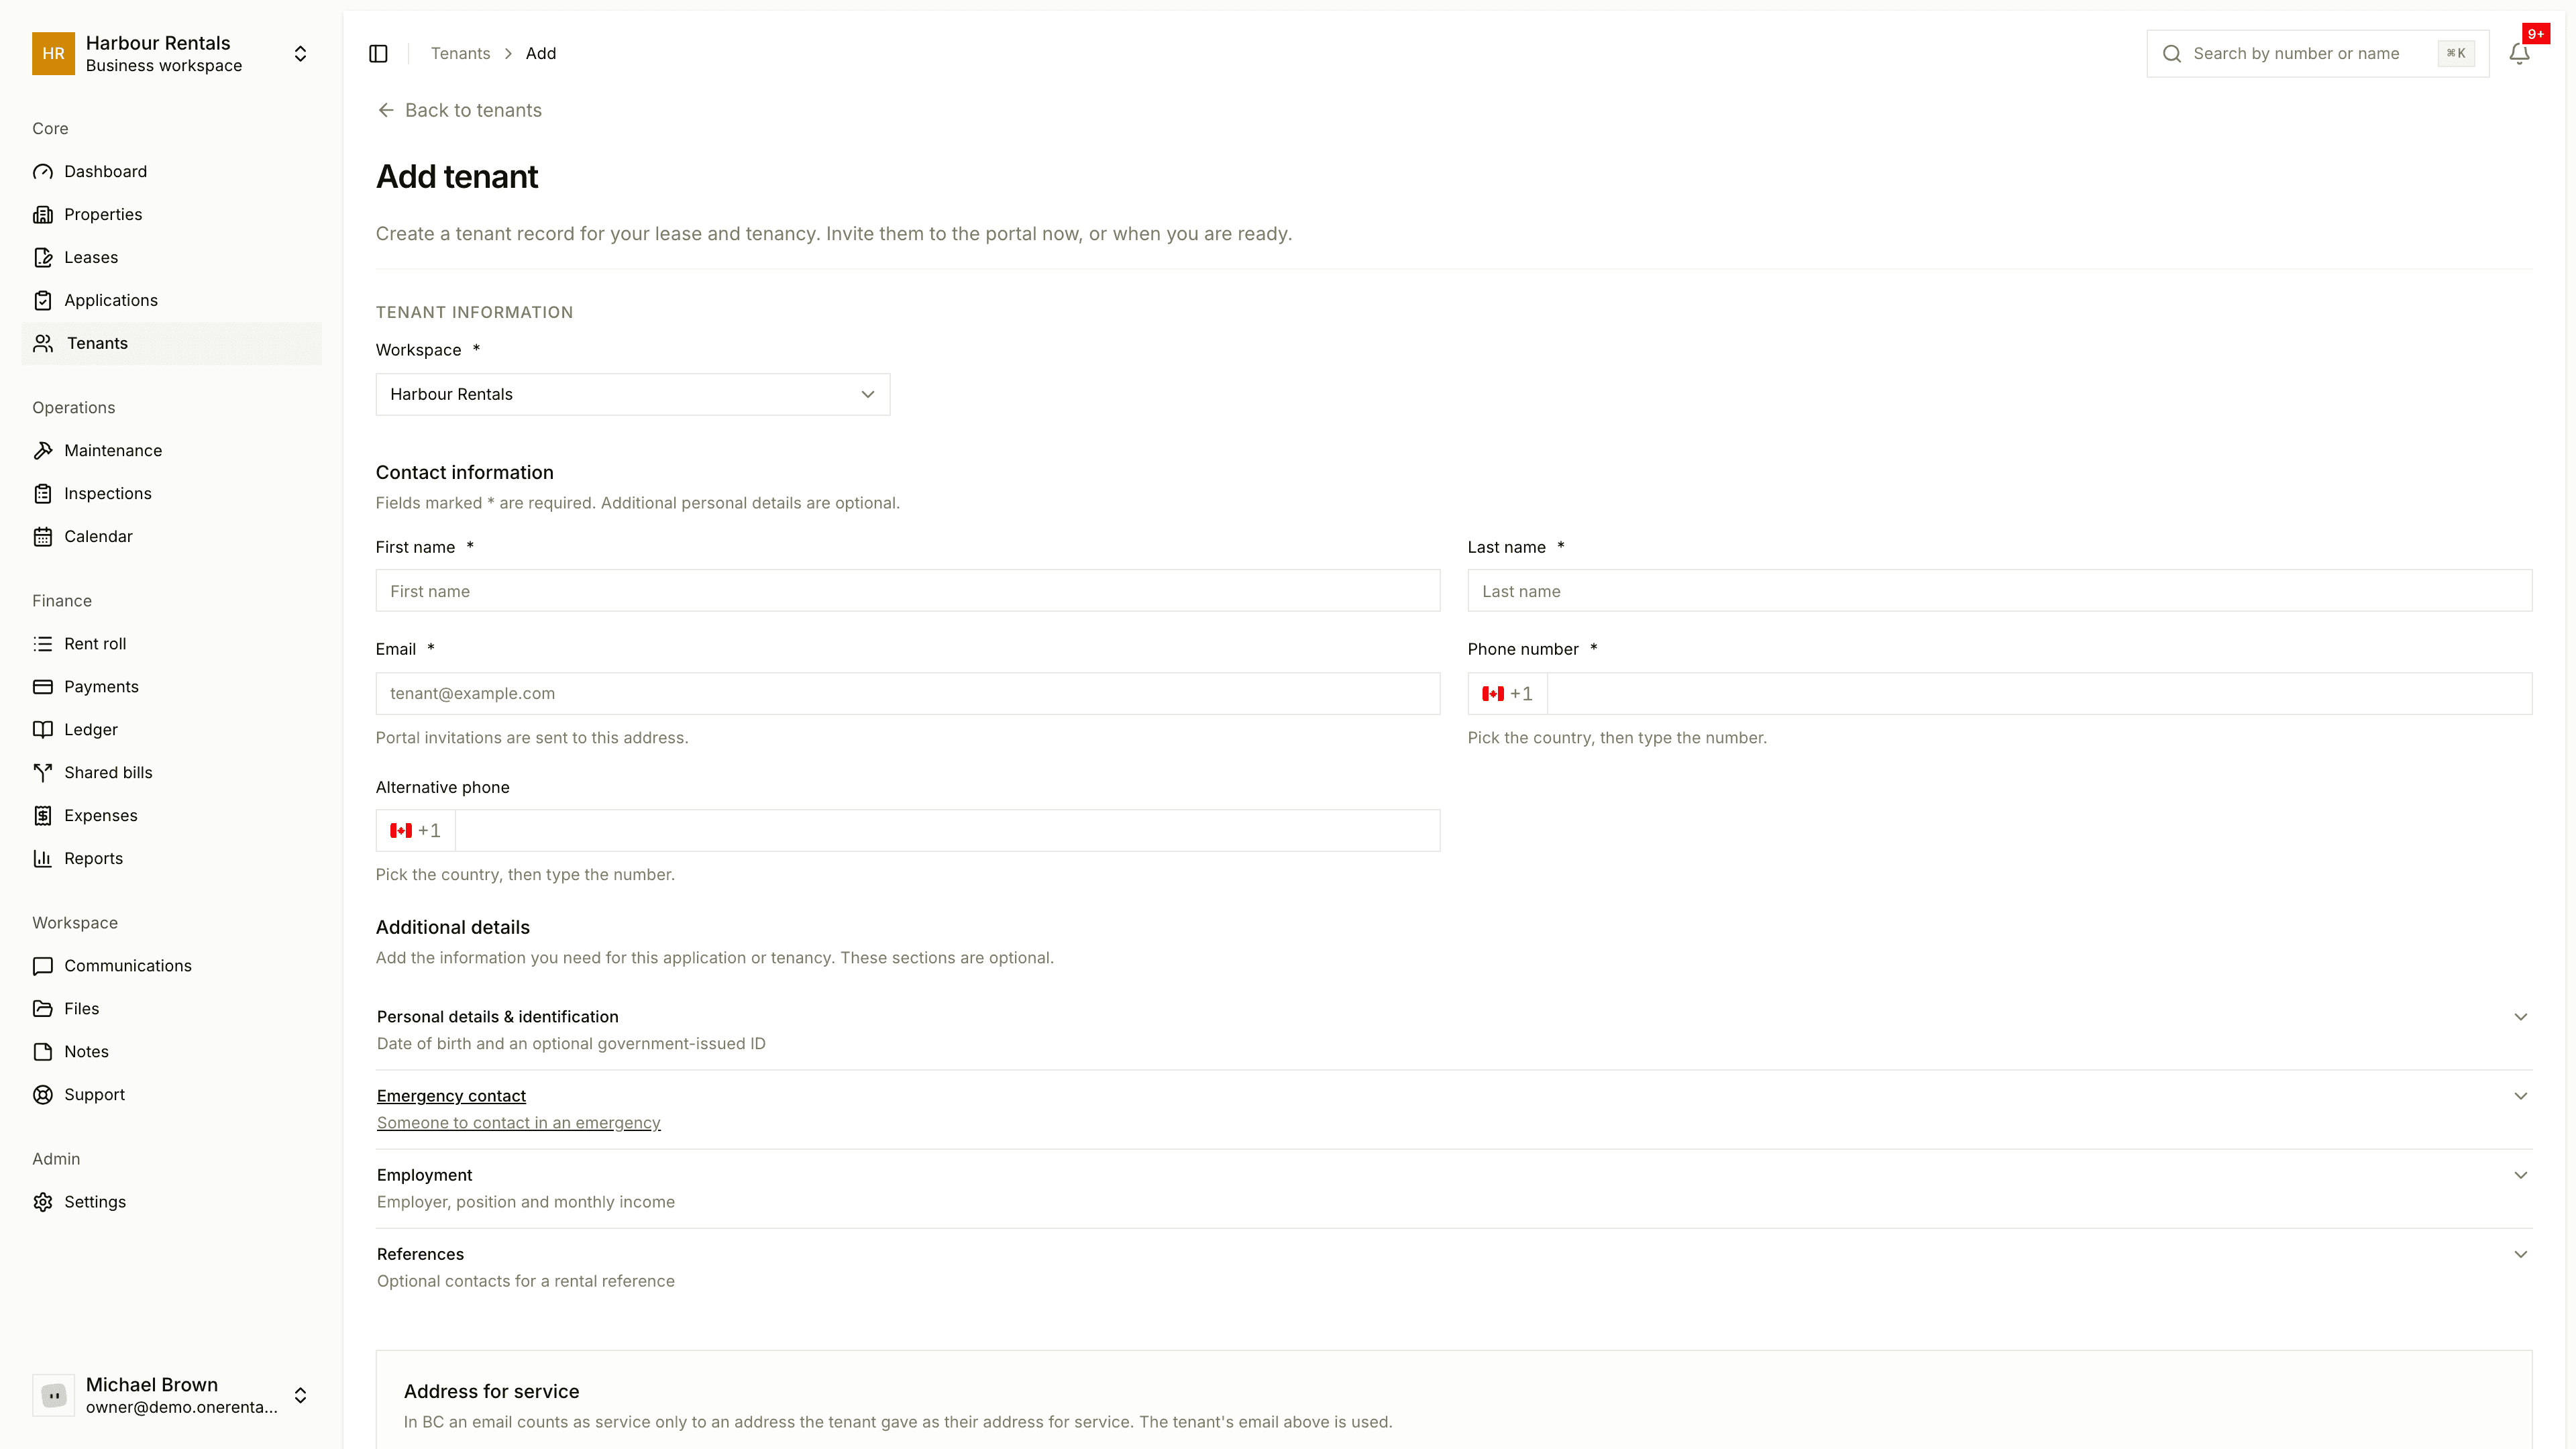
Open Tenants and click Add tenant.
Choose the workspace, then enter their first and last name, email and phone number. Fields marked * are required. Put the country code on phone numbers, like +1 604 555 0123.
Add anything else you know: date of birth and ID, an emergency contact, employment details and references. It's all optional.
Under Tenant portal, switch on Invite to portal now to email them an invitation, or leave it off and invite them later.
Click Add tenant, or Add and invite if you switched the invitation on.
Double-check the email address, since that's where the portal invitation goes. The tenant is always saved first, so if the invitation can't be sent, they're still added and the page tells you what happened.
A new tenant starts out as Prospective and becomes a Current tenant when their lease starts. Their personal details stay private to your workspace.
Address for service
Under Address for service, you can tick Use the tenant's email as their address for service and then say how the tenant gave it to you, for example in the tenancy agreement. It affects how notices count as delivered. See Address for service.